Choosing a golf simulator is confusing. Even with premade packages there are a ton of optional upgrades for hitting mats, projectors, launch monitors and enclosures. And depending on the setup, there could be a 5-figure difference in price, which makes it hard to know where the money savings can really be found.
Over 100,000 readers have used our home golf simulator guide to help decide which simulator to buy for garages, basements, media rooms, or simply in their spare room. And today, we’re publishing the one stop and specific guide to building a DIY golf simulator at home.
Throughout our home setup guide below we’re going to answer important questions such as:
- What’s the best launch monitor for my budget?
- Can I just use an impact screen, or do I need a full scale DIY golf simulator enclosure?
- What software do I need for my home golf simulator, and what tech do I need to run it?
- How much does a DIY golf simulator cost?
- There’s nearly a $1500 difference between golf simulator enclosures and DIY golf simulator enclosures; what’s the difference?
If it’s a common DIY sim question it’s going to be included in this guide. And if you want to come back and review the guide again, bookmark it above.
Ready to get stuck into our 2024 DIY golf simulator guide? Jump to any section by clicking the links below:
- What’s needed to build your DIY golf simulator
- DIY golf simulator cost
- Software for home simulators
- FAQ
Top online stores with DIY golf simulators for sale
Not sure which are the best stores that have DIY simulator components for sale? Here are the most popular 4 simulator stores online, with our pick for best value going to Carl’s Place Golf. Save cash by using their clickable tool here to build a DIY sim.
| DIY Simulator Shop | Link |
|---|---|
| Carl’s Place Golf (best value) | |

| Shop Indoor Golf |

| Top Shelf Golf |

| Rain or Shine Golf |
What’s needed to build your own DIY golf simulator
Launch monitor (the brains of your golf sim)

The tech behind your DIY simulator is the launch monitor. In “general”, you really get what you pay for with golf launch monitors. The more you pay? The more stats you’ll get. And the more stats you have, the higher the chances of you getting feedback that will improve your game.
So below, we’ve got prices from high to low. I personally feel the Mevo+ offers by far the best value for money at the moment, coming in at under $2K with our discount code golferlogic10 here. It’s the launch monitor I use in my own setup.
- Foresight GCQuad – the best launch monitor overall BUT, expect to pay $14k+ software costs for the privilege (read our review of the GCQuad here).
- Bushnell Launch Pro – It’s a Foresight GC3 with a Bushnell badge on it. You’ll need a license for the software, but the launch monitor itself will cost you around $3,500.
- SkyTrak+ – new for 2024, and one of the best launch monitors for budgets of under $3000. Head for the SkyTrak+ if you have a smaller sim room (otherwise we’d pick the Mevo+).
- Mevo Plus – Around $2k budget? This is the launch monitor you need.
- Rapsodo MLM2PRO – a cheap launch monitor for those with a max budget of under $1000. The best tracking in this budget range, but not as accurate as the Mevo+.
There’s a full guide to golf launch monitors here if you want to uncover in-depth comparisons.
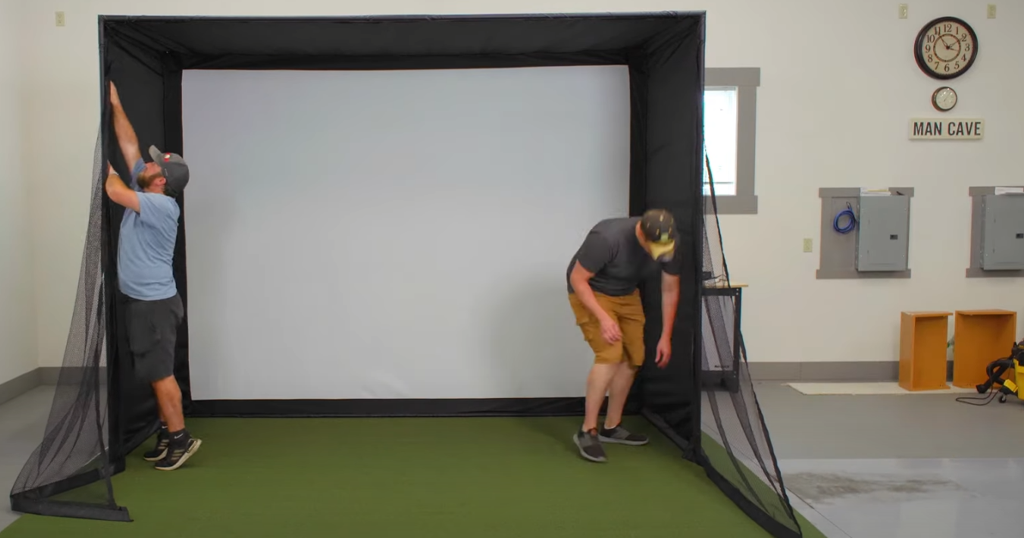
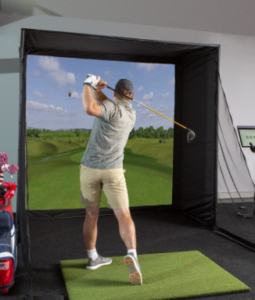
DIY golf simulator enclosures
Put simply, you don’t NEED an enclosure. See our detailed guide to picking a golf simulator enclosure here.
A golf simulator enclosure will generally come with:
- Surround
- Side barrier netting
- Foam padding for the pole/frame
- Piping kit
- Bungees etc to secure your impact screen
You could go with a golf impact screen and side barrier netting (covered in the next section) over a full-blown DIY golf enclosure. But, there’s a simple way to save around $1,350 on your DIY golf simulator enclosure which makes it insane value for money.
How? Do it yourself of course! Here’s an example of how…
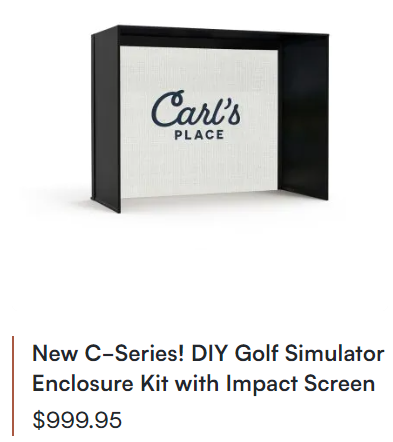
If you click here, you’ll see a DIY golf simulator enclosure for sale. And here, you’ll find a complete enclosure.
The difference? The piping kit…that’s it. I mean, if you read the first link it literally tells you it includes everything except the piping kit, when compared directly to the ready-to-go simulator enclosure.
One option is to go to your local Home Depot. You’ll need an EMT pipe, a pipe cutter and cut them to size (the first link includes a video of how much pipe you need, how to cut the pipe and to what lengths).
Materials should cost no more than $300. And the saving (at time of writing DIY kit is $1399.99 and the SIG8 complete golf enclosure is $3000) is $1350 after paying for EMT pipe and a cutter.
Or, if you’re lazy like me, you can get a DIY enclosure and add on a piping kit here, still saving around $1350, but with a piping kit that fits your simulator enclosure right out of the box.
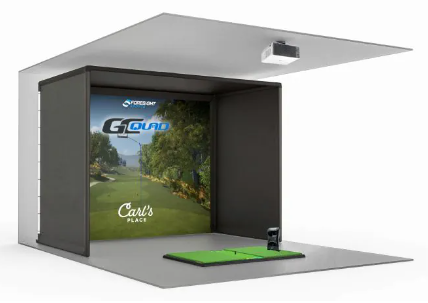
Put simply? The DIY golf enclosure with impact screen from Carl’s Place offers the best value for money online.
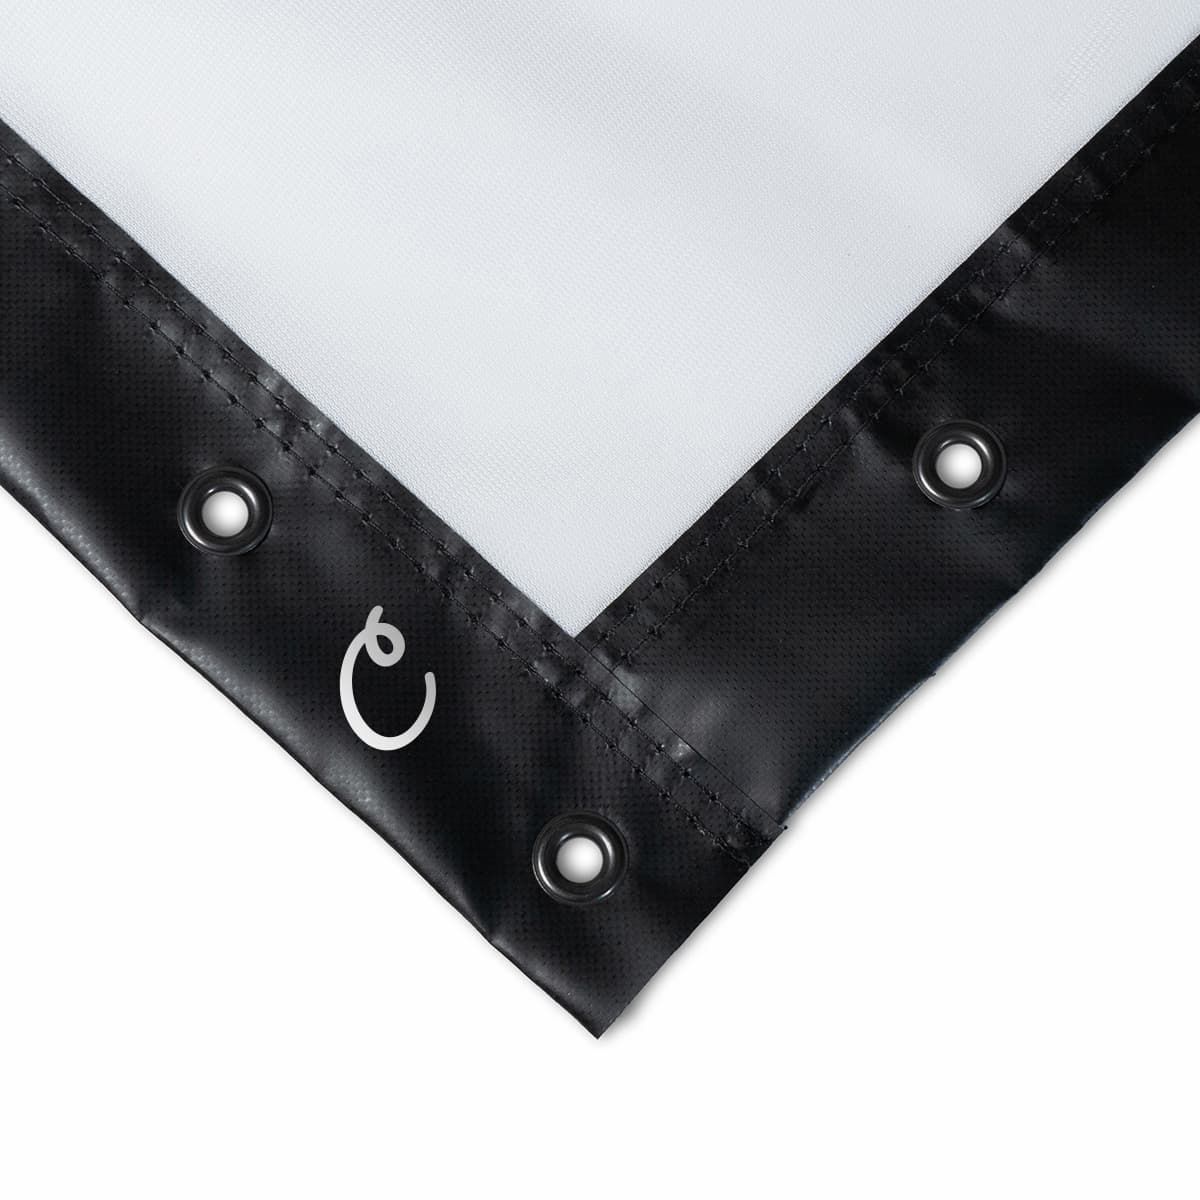
The budget golf simulator enclosure setup (side netting and impact screen)
Besides it being easy to customize, the main reason we’re building a DIY home golf simulator is to save money.
Golf simulator enclosures aren’t exactly cheap…the cheap option is to use an impact screen and side netting. The problem is to get a quality impact/hitting screen alongside quality netting or a surround, isn’t going to be much cheaper than just heading for the cheapest version of this golf simulator enclosure.
But if you’re going to go for any, we’d be heading for a combo of the RS Tour impact screen which can be found on Rain or Shine here. Then if you want some cheap side barrier netting, you’ll want something like this. You’ll still make a decent saving when compared to buying an enclosure.
Golf mats
Golf simulator mats usually come in 3 forms: hitting, landing or a combination mat (a hitting and landing mat in one).
By doing a little research rather than just buying a simulator package that includes a ridiculously expensive mat (they can cost $3k and beyond), you’ll be able to make a cheap golf simulator at home. Or, you’ll be able to make a better one for the same price!
We’ve written about golf simulator mats in the past, and from where we’re sitting you have two options here.
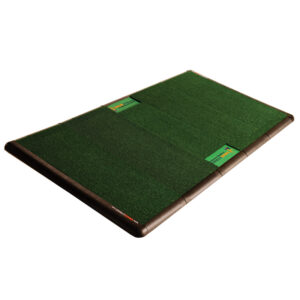
Cheap DIY golf simulator mat setup
There’s a good chance you’re on a budget, but want a quality hitting mat, combined with landing turf. These are few and far between.
But…enter the Net Return Pro Turf!
If you’re looking for a cheap setup, this is going to be the mat for you. A combo (hitting and landing mat in 1) that we’ve actually found for less than $600. Quite a deal when you consider most quality hitting mats even without landing turf, tend to sit in the $500-$1200 range.
Premium DIY golf simulator mat setup
If you do have the budget, then I’d suggest checking out the TrueStrike Academy hitting mat. But you’ll certainly need to pay for it in comparison to the Net Pro Return Pro Turf above. The
TrueStrike hitting mat, combined with a separate landing mat turf purchase will stack up to just under $1500. The positive here is, you’ll get a better simulator mat setup than most package deals, for the same cost or less.
Unlike most other hitting mats that use a foam liner underneath, this uses silicone. Essentially, instead of smashing into your mat like a brick wall when you miss an impact, you’ll get a turf-like feel, as if you’re making a divot.
I mean there’s that side of realism, and then there’s the fact that it’s much easier on your joints. Missing impacts on a lot of golf hitting mats really does hurt!
The TrueStrike Academy hitting mat doesn’t come complete with landing turf. That’s no problem, you can couple the TrueStrike mat here, with a landing turf such as this one for sale on Top Shelf Golf.
Projector
The next piece of your home DIY golf simulator puzzle is a projector. Which is the best golf simulator projector?
Well, it’s not exactly one size fits all approach. It really does depend on where you’re mounting the projector (and how far from the impact screen), the size of the room allocated for your sim and naturally…budget.
What you will need for indoor golf simulators is a short throw projector. This projects an image from a short distance (unlike a cinema projector for instance).
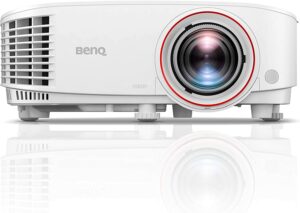
Typically a budget of under $1000 will suffice for a golf simulator projector. With a budget of $1k you’ll be able to grab a short throw projector like the BenQ TH671ST.
The BenQ TH671ST can be set from 0.69:1 to 0.83:1 ratios which – put simply – means you can project a quality image into your enclosure and directly onto your impact screen from as little as 4.5ft-5 ft away. That’s well inline with the approx 7-8ft distance that the average projector is going to be mounted from the impact screen.
Tech wise, the BenQ TH671ST is rated at 3k lumens and has 10k hours of lamp life. SmartEco modes are on offer and you’ll get a 16.67ms low input lag (i.e. basically nothing).
Tech & software
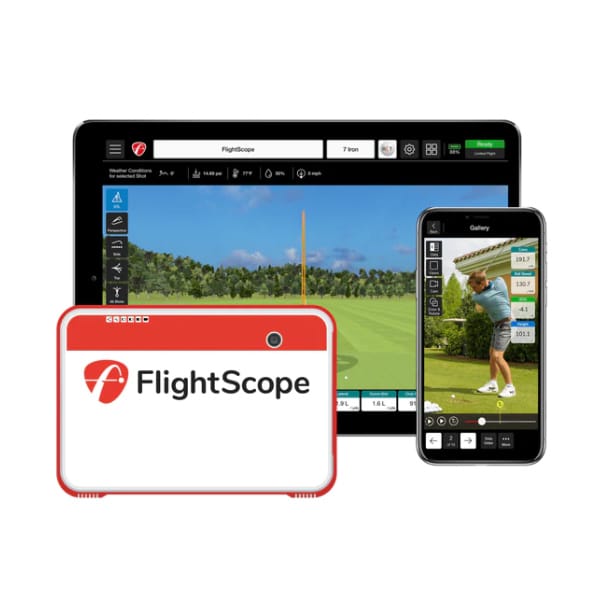
Typically, you can use the likes of a mobile, tablet, PC or a laptop to connect to your launch monitor, projector to then relay images to your impact screen, receiving data within the launch monitor app. However, this will vary depending on the launch monitor and projector.
Software
There are plenty of 3rd party simulator software providers out there. But, they are a bolt on to extend and upgrade your gameplay, rather than a cheap DIY simulator option. As an example, the E6 Connect simulator software below could set you back around $2,500 on PC, and $1,500 on iOS.
Put simply, most launch monitors either include their own simulator software, or it’s an add-on. Some are lifetime software subscriptions whereas others are paid annually. The own brand simulator software offered by the brand of launch monitor you purchase is going to be the best deal. An example is the SkyTrak here, with software included.
However, if you do ever want to change/upgrade and have a few thousand to spend, there are the likes of:
GSPRO
- GSPRO user created course (over 300 to choose from)
- Incredible 4k graphics
- Play locally, or multiplayer online
E6 Connect Software
- Multiplayer with commercial grade functionality
- Over 25 courses included
The Golf Club (TGC)
- Inclusive of 150,000 courses
- Custom course design
- Multiplayer
Requirements for laptops / gaming PCs for golf simulators
If you want to make the most out of your do it yourself setup, you’ll need some computing power. Whilst gaming laptops are a good option, generally you’ll find you’ll get better bang for your buck by using a specific gaming PC for your golf simulator.
Before you drop $2k+ on a gaming PC, it might be worth checking that:
- You can’t just use your current PC or gaming laptop
- You can’t upgrade your current PC or gaming laptop to meet software requirements.
Below, we’ve highlighted some min requirements set out by Foresight. But remember, technology moves ridiculously fast, so it’s always better to go for higher specs than lower specs on your golf simulator PC.
Graphics Card
Graphics cards are the most important component of a golf simulator PC.
Put simply, pretty much every brand recommends that your golf simulator PC runs off something like the Nvidia GeForce RTX 3060 as a minimum.
This is find for mid range sims like SkyTrak and Mevo+, but the likes of the GCQuad you’re only going to get optimal performance and make your sim stretch its legs with something like the GeForce RTX 3070ti, or more powerful options like the GeForce RTX 3080 and GeForce RTX 3090 (cost is likely to double from the 3070).
A sub-par graphics card may also limit your gameplay and gameplay analysis if you plan to use GSPRO software. This is constantly evolving, so more and more computing power is needed as time goes by.
Generic simulator PC specs
Alongside graphics card requirements, you’ll also be needing a decent base spec on your gaming laptop or PC.
As an example, here are some baseline specs set out by Foresight Sports for their FSX Play software, which would be needed to run the GC3, GCQuad and GCHawk:
- 64 bit windows or better
- 7th Gen or better Intel i5, i7, and i9 processors (they don’t recommended AMD)
- 8GB Memory
- As mentioned above, Nvidia GeForce RTX 3060 as a minimum, but Foresight recommends going for the RTX 3070-3090 graphics card for optimal performance.
DIY golf simulator cost
The main cost of your building your DIY golf simulator for home use is the launch monitor. And if you want something close to professional level tracking (e.g. ball speed tracking within 1mph, launch angle within 1 degree), you’re going to need a budget of around $2000 just for the launch monitor.
That’s going to get you something like the SkyTrak or FlightScope Mevo Plus. Or, if you have a budget of around $3000, you’ll be able to grab the new SkyTrak+ which is within 2% of Trackman’s accuracy (a $20k+ launch monitor).
When you combine this with a simulator enclosure, hitting and landing mat, projector, software and more, you can build a good golf simulator for under $5000.
However, this cost can quickly increase towards $8000-$10000 using something like the Full Swing KIT launch monitor and $20000 plus when looking at the GCQuad.
Finally, if you’re looking to save cash, check out our guide to finding used golf simulators for sale.
FAQ: Building a DIY Simulator
Expect to pay approximately $5000 for a basic DIY golf simulator using a launch monitor such as the SkyTrak or Mevo Plus. The launch monitor makes up a chunk of the price, so using something like the Full Swing KIT monitor would extend that cost to around $8k, whereas using the top line GCQuad will mean your golf simulator costs $20k or higher.
A full DIY golf simulator enclosure isn’t 100% necessary, but it is advisable. As we mentioned here, you can find an impact screen with separate side barrier netting for around $650. If you’re building a cheap DIY simulator, that’s your best option. For higher budgets, we recommend a specific DIY simulator enclosure, which can be found from approx $1300.
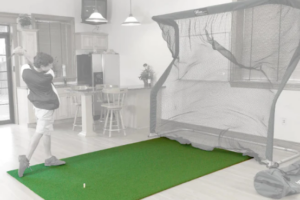
Enclosure sizes tend to be in the 8-12 ft squared range. So you’ll need 8 ft-12 ft of height and width. However, even for a 8×8 setup, we’d recommend 9ft minimum ceiling height (you have to swing afterall), 10ft if possible. You’ll also need additional length on the room beyond your hitting mat. So if your hitting + landing mat = 10ft, we’d want to aim for 12-14ft or more for the length of the room.
We’ve shortlisted models in each budget. For around $2k we pick SkyTrak, under $5k we’d pick the Full Swing KIT (Tiger Woods Endorsed). Then there’s a big bump up to $14k even without software, for the Foresight GCQuad.
You need the following: launch monitor, golf enclosure (or, side barrier netting and impact screen), hitting mat, landing mat and a projector. You may also need a ceiling mount for your projector depending on space.
For our DIY golf simulator guide, we recommend short throw projectors. They need as little as a 5ft gap from screen to projector to be able to project the image. Long throw projectors, whilst they can be more stable and cheaper, aren’t really suitable for basements, spare rooms, media rooms or garages, due to the distance they need from the impact screen to projector to be able to create a clear image.
Save money by using a DIY enclosure kit and cut the piping yourself which could save around $1350. Use a budget landing mat rather than premium turf, or, use a combo mat (landing and hitting mat in one) such as the Net Pro Return Turf, which could save you approximately $600.